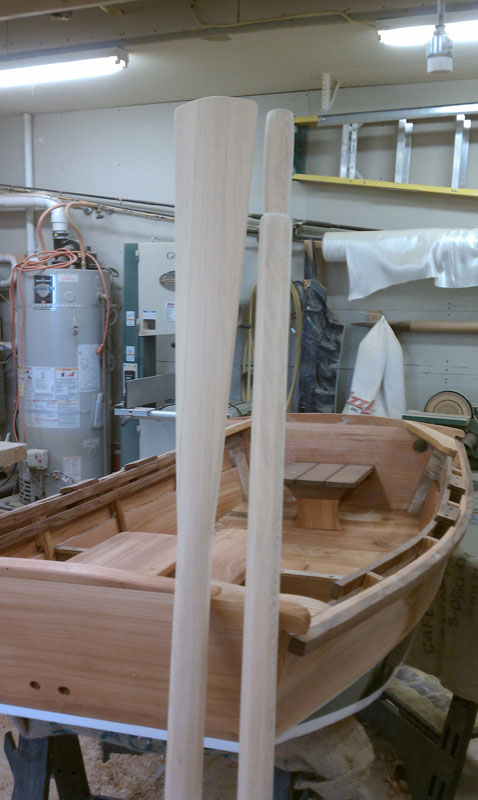
Building your own set of oars is simple. This is like anything else – one step at a time.
You start out with a nice, fairly clear but it really doesn’t need to be totally clear, 10 foot 2×6.
- Rip two 1 1/2″ x 1 1/2″ pieces from the 2×6 to the length of the oar.
- Rip each 1 1/2″ x 1 1/2″ oar shaft octagonally on your table saw, but leave the shaft end square for a two foot length.
- If you have a lathe that will handle your oar shaft length of 6 1/2 feet to 8 feet, go ahead and spin your hand grips. If you don’t have a lathe, hone your handgrips with a draw knife and spoke shave.
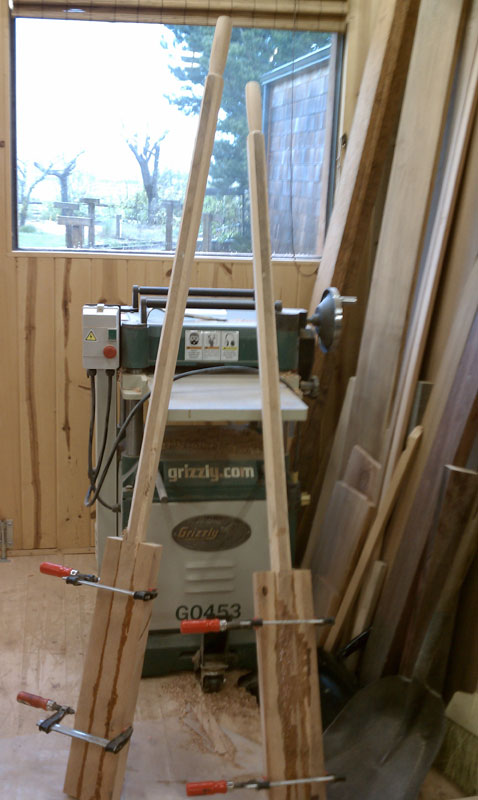
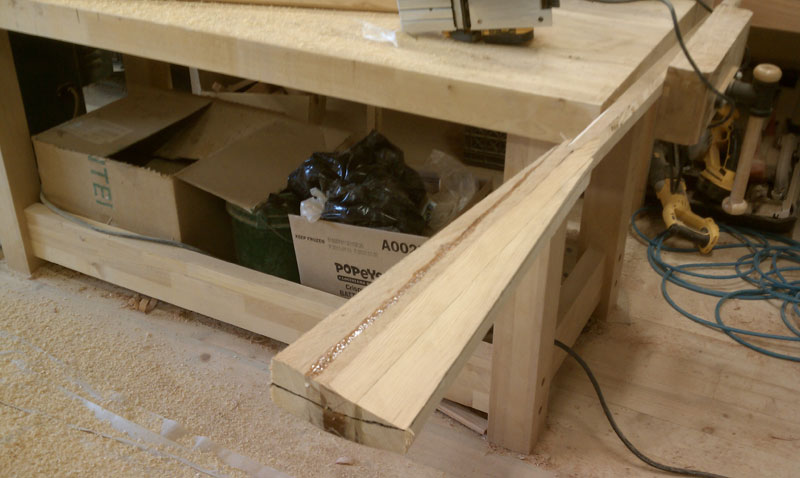
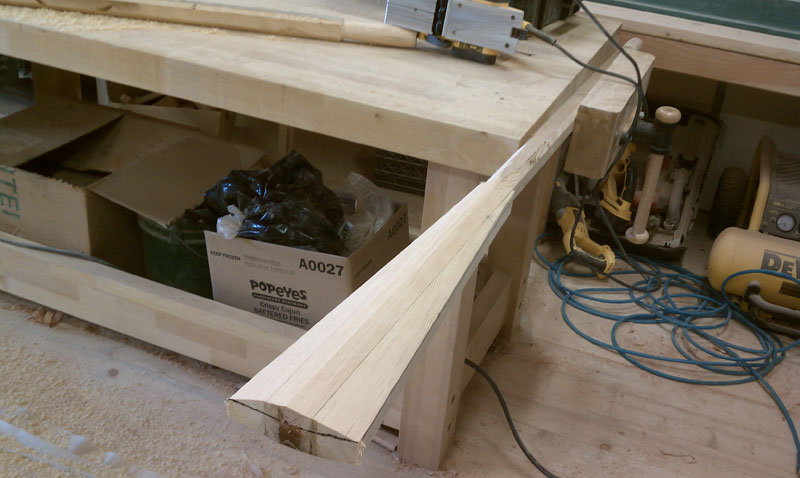
- Once this is done, we need four 1 1/2″ x 1 1/2″ x 2 feet long pieces of fir to epoxy and clamp on each side of the end of your oar shaft. Note photos.
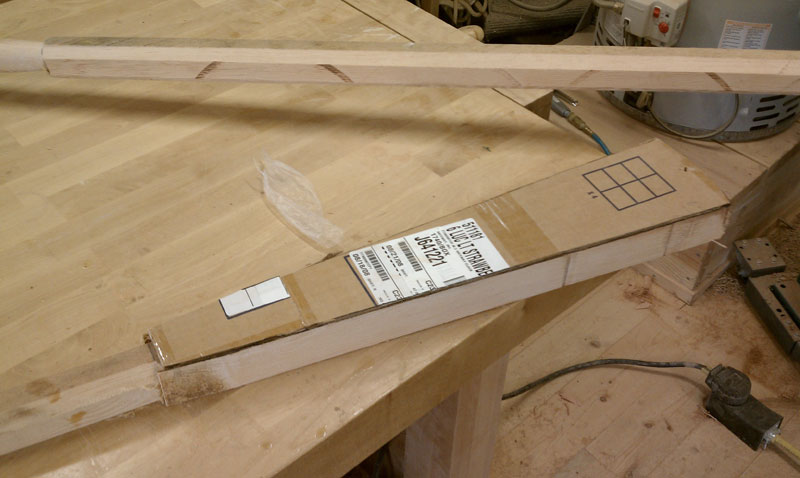
- Make a pattern out of cardboard of your oar blade design. Lay that over the 2 foot section and trace it out.
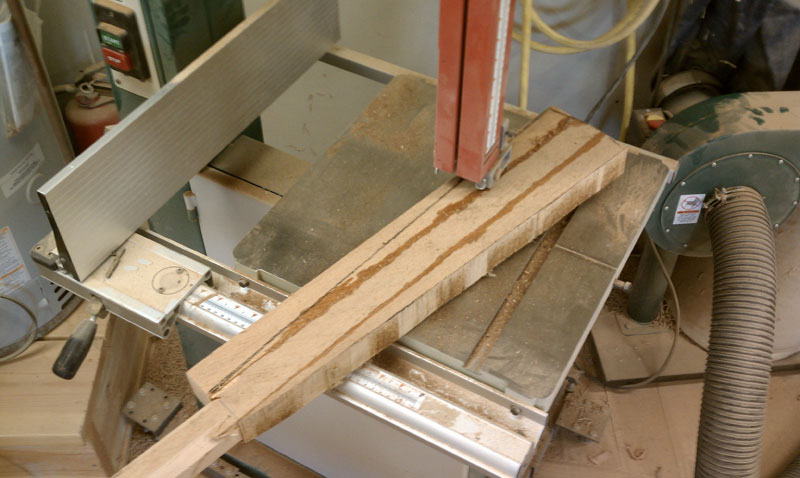
- Take a hand jigsaw if you don’t have a band saw and cut out your traced lines.
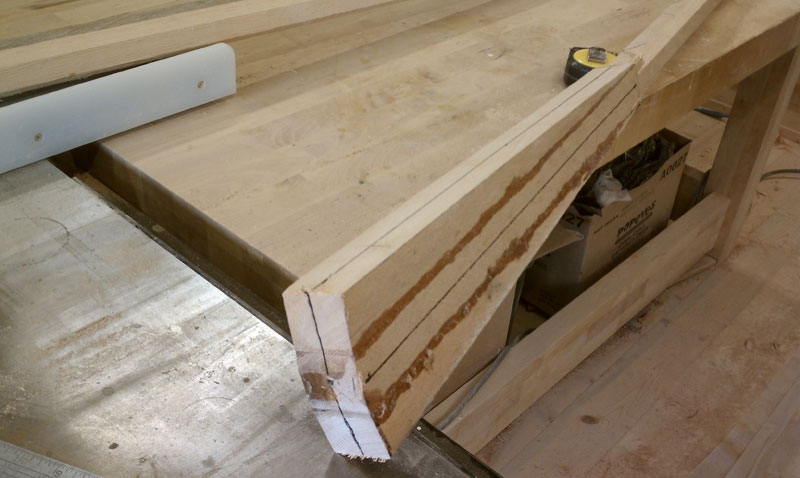
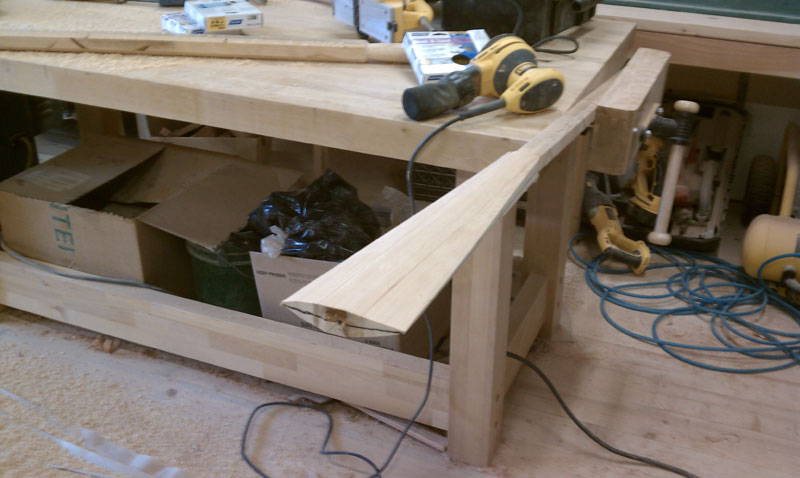
- At this point, take a Sharpie and draw a center line on all four sides of your oar blade. Note photos. Now, you can picture how far you can plane up to or past each center line.
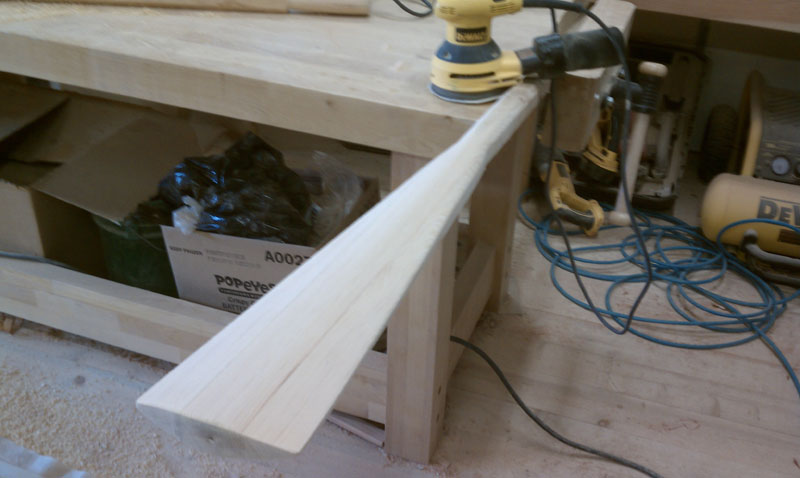
- Put the shaft in a wood vice and begin hand planing or power planing your oar blade. Note photos. You can make them as thick or as thin as you like.
- At this point, you simply get your random orbit sander with some 60 grit and begin shaping the blade and the octagonal shaft fair and smooth. Change 60 out for 120 grit and sand smooth.
- Take that baby out of the vice and start varnishing. I varnish sand with 120 grit and repeat the process four times.
- This whole process from beginning to end after the shafts have been glued and clamped takes me approximately 1 hour to build a set of these oars. Even if it takes you 2, 3 or 4 times longer than this, the satisfaction of building your own oars to the proper length is a significant achievement.
If you have questions, call me or email me. Remember, there are no stupid questions.

